User guide
Home page
On the home page you can see the different routes. The routes are grouped into categories. At the top of the screen, you can select a category. Then you can select a route. This takes you to the overview page of the selected route.
Route-information page
Here additional information on the selected route is given. You will see a map with the route and all the points of interest you will be seeing, followed by a description of the route and finally you will see images of all the locations along the route.
To walk the route, you click on the button at the bottom of the screen: ‘Start route’. This will take you to the walking page.
Route-walking page
(This screen will appear when you have clicked on 'Start route'.)
This page consists of three main sections (from top to bottom):
- Walking directions
- Map
- Slider
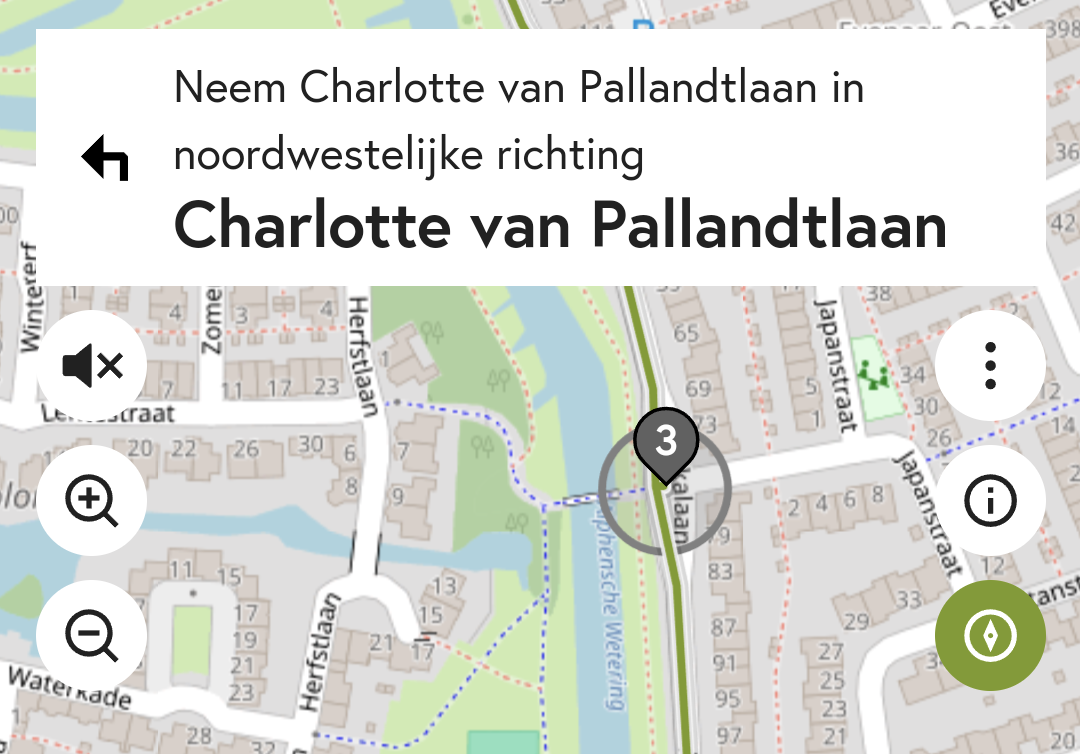
Walking directions
During the walk, you will be given walking directions. You will find these in the white window at the top of the screen. The volume button is at the bottom left. By default, the volume is off. If you click on the volume button, the instructions will be read out.
More options (three dots)
On the right, below the walking directions, you will see the symbol for 'more options' (three dots). When you click on it, a new screen will open with the following buttons:
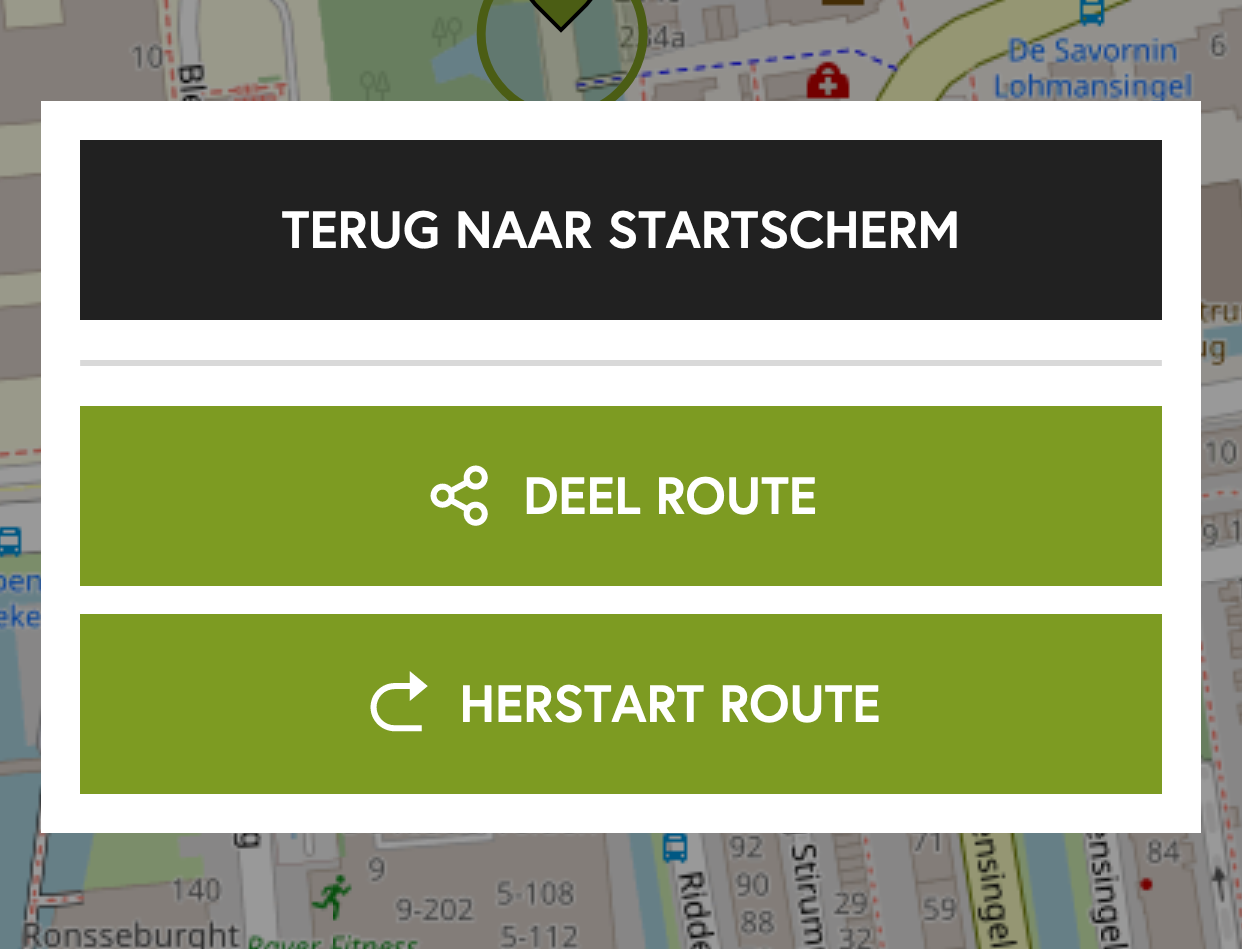
If you return to the main screen, your progress will be saved, so when you come back later, you can pick up the route where you left off. If that is not what you want and you would rather start the route again, select 'Restart route'. This will take you back to the starting point (and your progress will be deleted).
Map
The map will always guide you to the next location. When you start the route, you will first see the starting point. The arrow will indicate your current position on the map. You will also see the route as a coloured line on the map with all (numbered) locations to be visited.
You can rotate the map, zoom in and out, and drag it. When you drag the map, a button will appear at the bottom left to centre the map back on the arrow (your current position). At the top right, you will see a compass button. This bases the orientation of the map on your viewing direction. This will make it easier to follow the line and orientate yourself.
The coloured line (the colour varies per category) is the recommended route to the next location. The grey line indicates the route you are actually walking. Sometimes the two lines may not coincide. For example, if you have walked the wrong way.
Slider
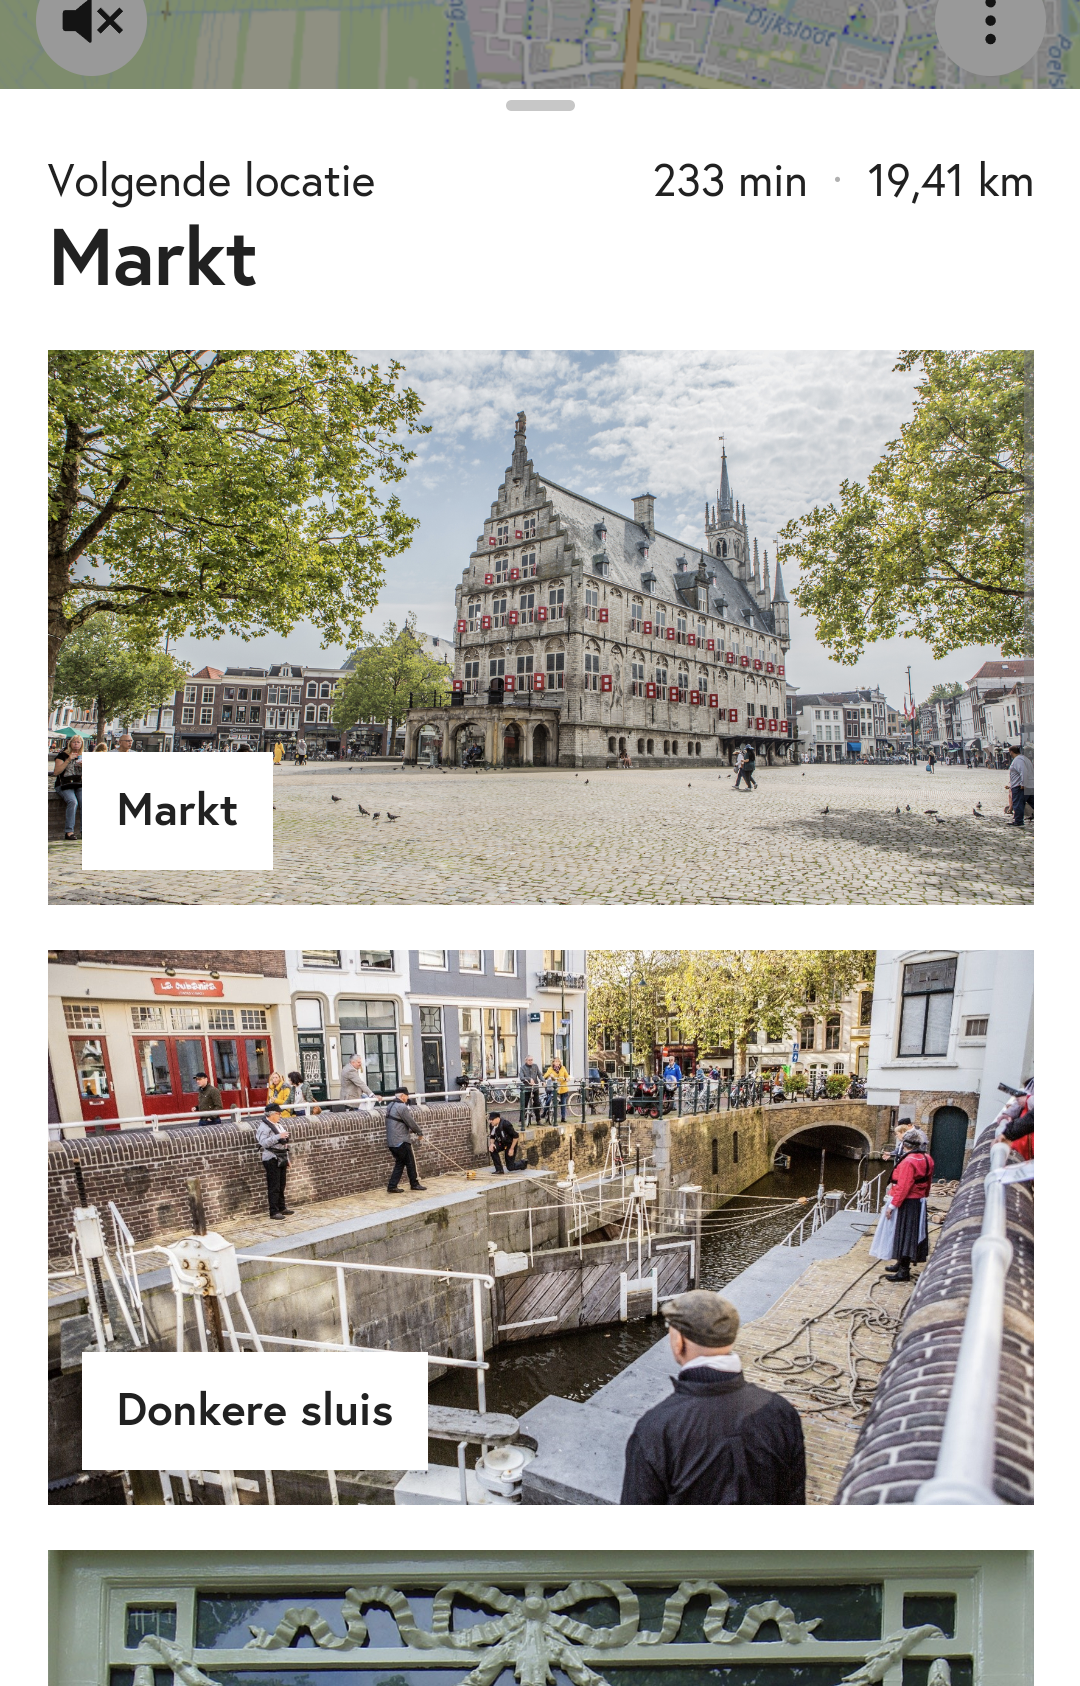
At the bottom of the screen there is a ‘slider’. At first it will be collapsed. The window will contain the following information:
- Name of the next location
- Remaining time until the end of the route
- Remaining distance until the end of the route
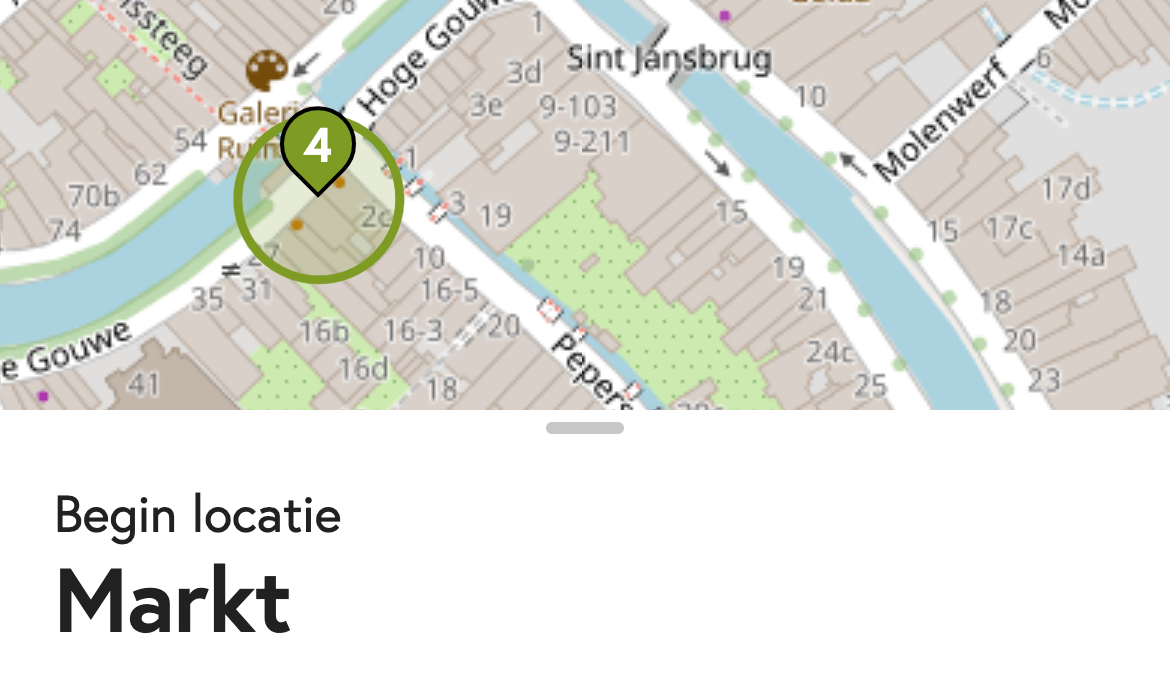
You can collapse the slider by doing the same thing the other way round. Once you reach a location, the slider will automatically open.
Overview of locations
When the slider is open, you will see an overview of the location(s) you have already visited and the next location. The locations you have visited will have a tick in the top left corner of the image. Tapping on an image will take you to information on that location.
Information on location
This screen will give you information on the location. The 'Back' button at the top left corner will take you back to the overview of locations.
In the information on a location you will find a 'Read out text' button. If you click on this button the text about the location will be read out. You can stop the reading by tapping the button again.
Some locations feature an audio clip. It is located below the text and is different from the text (which you can optionally have read out). A nice addition!